
Integrating Stripe with a Laravel application involves several steps, including installing the Stripe PHP library, configuring your environment, and writing the necessary code to handle payments. Here’s a step-by-step guide to help you integrate Stripe into your Laravel project:
1. Install Stripe PHP Library
First, you need to install the Stripe PHP SDK using Composer. Run the following command in your project directory:
composer require stripe/stripe-php2. Set Up Your Stripe API Keys
You need to add your Stripe API keys to your Laravel .env file. Obtain these keys from Stripe Dashboard > Developers > API Keys section.
STRIPE_KEY=your_stripe_public_key
STRIPE_SECRET=your_stripe_secret_key
3. Create config file
Create a dedicated config file(stripe.php) under config directory, else Laravel can’t cache the defined environment variables ( STRIPE_KEY & STRIPE_SECRET ).
<?php

return [
    'stripe_publishable_key' => env('STRIPE_PUBLISHABLE_KEY'),
    'stripe_secret_key' => env('STRIPE_SECRET_KEY'),
];4. Create service provider
Create a service provider called StripeServiceProvider
<?php

namespace App\Providers;

use Illuminate\Support\ServiceProvider;
use Stripe\StripeClient;

class StripeServiceProvider extends ServiceProvider
{
    /**
     * Register services.
     */
    public function register(): void
    {
        $this->app->singleton(StripeClient::class, function ($app) {
            return new StripeClient(config('stripe.secret'));
        });
    }

    /**
     * Bootstrap services.
     */
    public function boot(): void
    {
        //
    }
}5. Setup example products ( Database + Design )
Let’s create two models ( Order, Product ) with migrations also.
Product migration:
Schema::create('products', function (Blueprint $table) {
    $table->id();
    $table->string('name');
    $table->string('price');
    $table->text('description')->nullable();
    $table->timestamps();
});Order migration
Schema::create('orders', function (Blueprint $table) {
    $table->id();
    $table->foreignIdFor(Product::class);
    $table->string('email');
    $table->string('amount');
    $table->timestamps();

    $table->foreign('product_id')
          ->references('id')
          ->on('products')
          ->onDelete('cascade');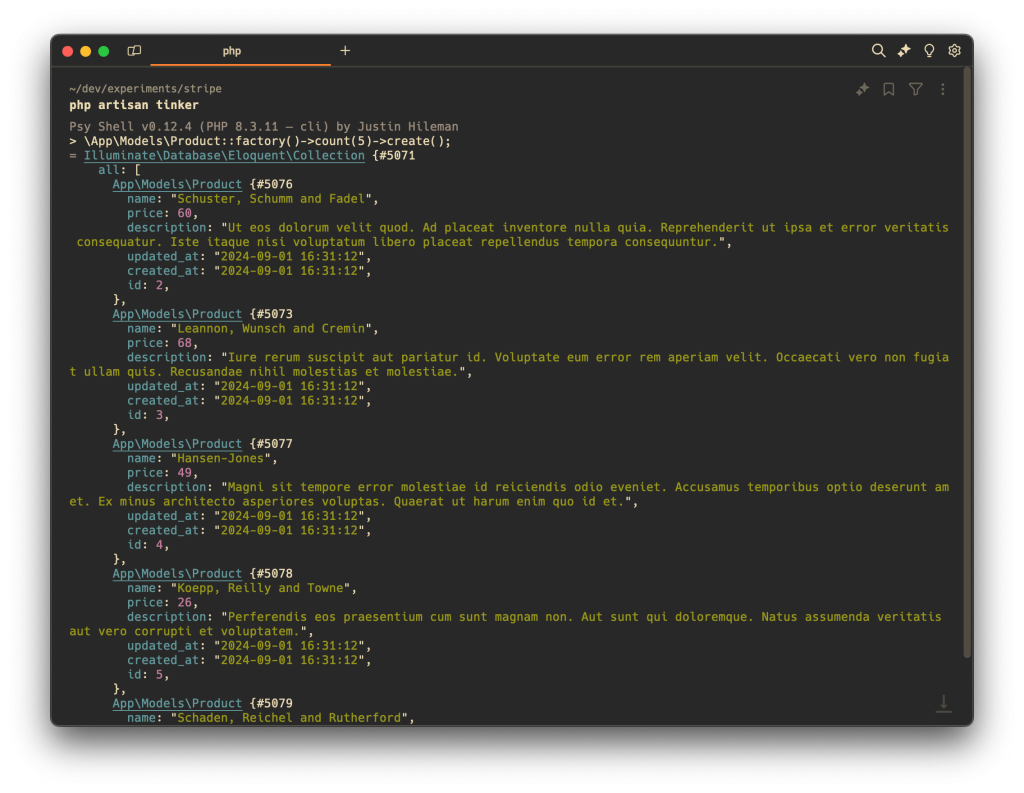
});Let’s create ProductFactory to generate dummy products.
    public function definition(): array
    {
        return [
            'name' => $this->faker->company(),
            'price' => $this->faker->randomNumber(2),
            'description' => $this->faker->text()
        ];
}At first run php artisan migrate , then generate products.
Template ( Blade ) :
<!DOCTYPE html>
<html lang="{{ str_replace('_', '-', app()->getLocale()) }}">

<head>
    <meta charset="utf-8">
    <meta name="viewport" content="width=device-width, initial-scale=1">

    <title>Laravel</title>

    <script src="https://cdn.tailwindcss.com"></script>
</head>

<body class="bg-slate-200 p-6">
    @error('product_id')
        <div class="w-full px-4 py-2 mb-4 rounded bg-red-600 text-white">{{ $message }}</div>
    @enderror
    <div class="flex flex-col gap-4">
        @foreach ($products as $product)
            <form class="bg-white w-full p-6 rounded" method="POST" action="{{ url('buy-product') }}">
                @csrf
                <div class="max-w-2xl flex flex-col gap-2 items-start">
                    <div class="flex items-center gap-2 mt-3">
                        <h4 class="text-lg font-semibold">{{ $product->name }}</h4>
                        (<b>$ {{ $product->price }}</b>)
                    </div>

                    <p class="text-sm">{{ $product->description }}</p>
                    <input type="hidden" value="{{ $product->id }}" name="product_id" />
                    <button class="bg-blue-600 px-3 text-sm font-medium text-white rounded py-1" type="submit">Buy
                        Now</button>
                </div>
            </form>
        @endforeach
    </div>
</body>

</html>6. Create controller
Create a controller ProductController, add methods to create a checkout session and redirect to Stripe Checkout. Also create another method called thankYou to check and verify if user is paid or not. Here is the full code of ProductController :
<?php

namespace App\Http\Controllers;

use App\Models\Product;
use Illuminate\Http\Request;
use Stripe\StripeClient;

class ProductController extends Controller
{
    protected $stripe;

    public function __construct(StripeClient $stripe)
    {
        $this->stripe = $stripe;
    }

    public function page()
    {
        $products = Product::all();
        return view('welcome', [
            'products' => $products
        ]);
    }

    public function buyProduct(Request $request)
    {
        $request->validate([
            'product_id' => 'required|exists:products,id'
        ]);

        $product = Product::where('id', $request->product_id)->first();
        $session = $this->stripe->checkout->sessions->create([
            'payment_method_types' => ['card'],
            'line_items' => [
                [
                    'price_data' => [
                        'currency' => 'usd',
                        'product_data' => [
                            'name' => $product->name,
                        ],
                        'unit_amount' => $product->price * 100, // Amount in cents
                    ],
                    'quantity' => 1,
                ],
            ],
            'mode' => 'payment',
            'success_url' => url('/checkout/success?session_id={CHECKOUT_SESSION_ID}'),
            'cancel_url' => route('products'),
        ]);

        return redirect()->away($session->url);
    }

    public function thankYou(Request $request)
    {
        if (!$request->query('session_id')) {
            return "Something went wrong!";
        }

        $response = $this->stripe->checkout->sessions->retrieve($request->query('session_id'));
        if ($response->payment_status === 'paid') {
            return view('success');
        }

        return "Something went wrong";
    }
}
7. Setup Routes
In your routes/web.php file:
<?php

use App\Http\Controllers\ProductController;
use Illuminate\Support\Facades\Route;

Route::get('/', [ProductController::class, 'page'])->name('products');
Route::post('/buy-product', [ProductController::class, 'buyProduct']);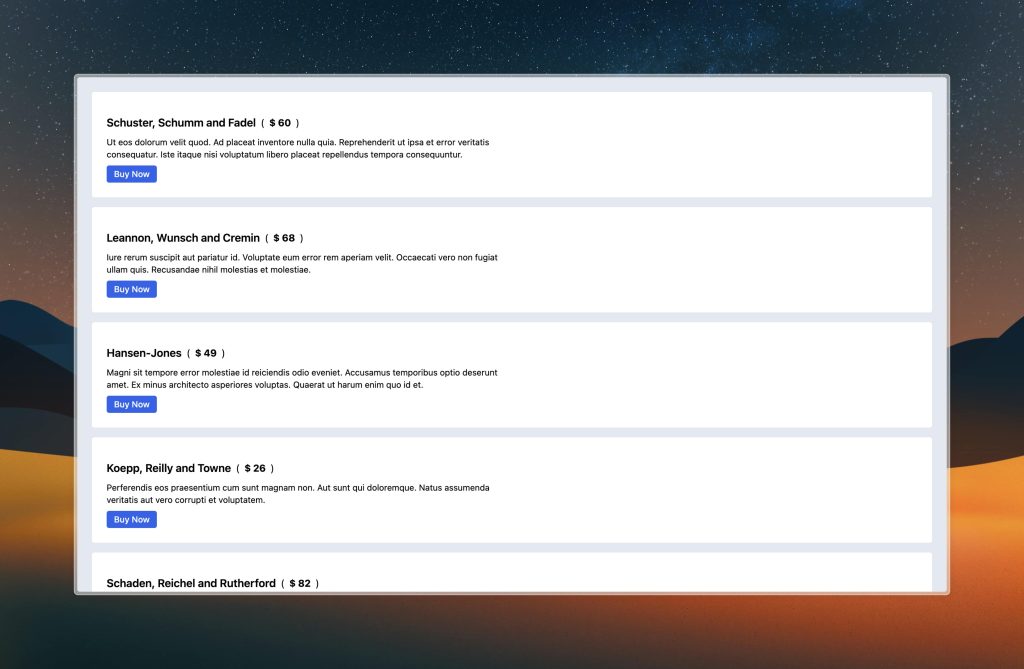
Route::get('/checkout/success', [ProductController::class, 'thankYou']);Now go on home page and you may something like this :
Now, make a payment and after successful payment you’ll be redirected on checkout\success route.
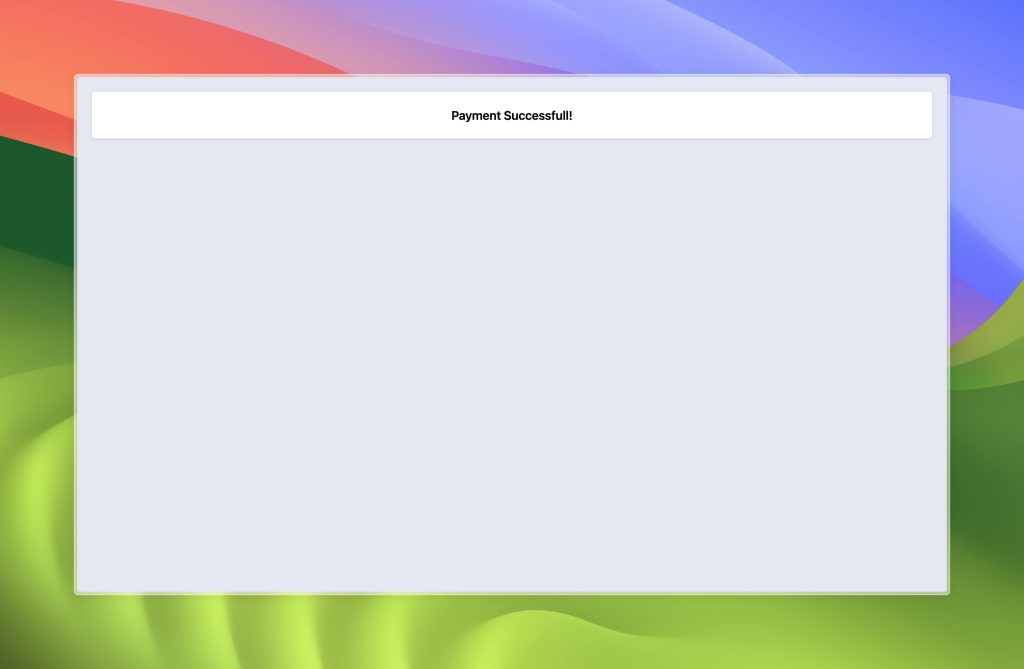
Here is the full code of success.blade.php
<!DOCTYPE html>
<html lang="{{ str_replace('_', '-', app()->getLocale()) }}">

<head>
    <meta charset="utf-8">
    <meta name="viewport" content="width=device-width, initial-scale=1">

    <title>Payment SuccessFull</title>

    <script src="https://cdn.tailwindcss.com"></script>
</head>

<body class="bg-slate-200 p-6">
    <div class="font-semibold text-xl bg-white shadow p-6 rounded text-center">
        Payment Successfull!
    </div>
</body>

</html>You’ll find full project source code here:
https://github.com/Ok9xNirab/laravel-stripe-integration
Thanks.
Leave a Comment